Aside from seeking out the best restaurants in Tokyo, there are two food-related activities that we enjoy doing in Japan – going on food tours and taking cooking classes.
Local-led food tours are a great way of discovering hidden restaurant gems, but if you really want to learn about Japanese food, then there’s no better way to do that than to take a cooking class. It’s like looking under the cuisine’s hood.
I took this airKitchen cooking class in Tokyo and learned how to make Japanese food favorites like tempura, udon, and tamagoyaki.
If you want to learn as much as you can about Japanese food during your stay in Tokyo, then I highly recommend taking a cooking class.
COOKING CLASSES IN TOKYO
A curated list of some of the most highly-rated cooking classes in Tokyo.
Save This on Pinterest!
No time to read about this Tokyo cooking class now? Click on the save button and pin it for later!


WHAT IS AIRKITCHEN?
airKitchen is a cooking class booking platform based in Japan. They offer dozens of cooking classes in different cities throughout Japan, most notably in Tokyo, Osaka, Kyoto, Hokkaido, and Fukuoka.
They’ve recently expanded their operations to Thailand as well, offering cooking classes in key cities like Bangkok, Chiang Mai, and Phuket.
airKitchen offers so many cooking classes in Japan that you could probably find one for whatever Japanese dish you want to make. Gyoza, ramen, sushi, udon – they have a class to teach you how to make it. As of this writing, they offer over 400 cooking classes in Tokyo alone.
Most classes are fairly small, about 4-6 students, with each class running for around 2-2.5 hours. They offer cooking classes throughout Tokyo so it should be easy to find one near you.
HANDMADE UDON, TEMPURA, AND TAMAGOYAKI
The cooking class I chose in Tokyo taught me how to make three Japanese dishes – udon, tempura, and tamagoyaki. It’s taught by Masako and her team and lasts for about two and a half hours. It costs JPY 6,890 per person and you can book it directly on airkitchen.me.
Tamagoyaki
Tamagoyaki refers to a type of Japanese omelette made by rolling together several layers of cooked egg. It’s typically cooked in a rectangular pan called a makiyakinabe or tamagoyakiki. You can see one of Masako’s assistants holding one below.


To make tamagoyaki, you need to cook thin layers of omelette, roll it up, then repeat the process several times. Ren often cooks tamagoyaki at home so I’m familiar with the process, but this was the first time I had ever tried it myself.
I’ve heard this before but according to Masako, the mark of a skilled Japanese home cook is how well they make tamagoyaki. I think this applies to any cuisine, not just Japanese.
TRAVELEATER DEALS
Going on a trip soon? Enjoy up to 50% off on selected experiences and activities with Klook and Get Your Guide. Click on the links for a list of discounts, promo codes, and limited-time offers.
Cooking eggs sounds simple, but doing it well actually takes a good amount of experience and skill. Masako’s assistant was a master at it.


Masako revealed to us that the secret to her tamagoyaki is miso paste. Not just any miso, but miso made using her mother’s secret recipe. It made a world of difference.
Aside from her mother’s miso paste, Masako’s recipe for tamagoyaki called for two types of egg, chopped spring onion, and sugar.


After cooking the tamagoyaki, it was time to divide it into four even slices. Japanese knives are very sharp so cutting the soft egg was easy. It was like sliding the knife through butter.


And voila! My very first attempt at making tamagoyaki. Not so bad if I say so myself.
Do you notice how much lighter mine is compared to the one Masako’s assistant made? It’s because I overmixed the yolk. They asked me to mix it gently so the cooked omelette would have more color. It’s clear from looking at this what they meant.
Like I said, it’s easy to cook egg but doing it well takes much skill and experience.


This is Shoma of airKitchen. He took the class with me and as you can tell from his expression, he was quite pleased with the result of his tamagoyaki.
The miso really does make a difference. You can taste it.


Masako sells these tamagoyakikis so I was happy to bring one home to Ren as a souvenir.


Handmade Udon
The next dish we made was udon, which is one of my favorite types of Japanese noodle. It’s a thick and chewy wheat flour noodle that’s typically served hot in summer and chilled in winter.


To make the udon noodles, we dissolved salt in water then mixed it with high-quality udon flour.


After mixing the flour and water together, we formed the dough into balls then wrapped them in plastic. We would knead them for a few minutes with our hands as I expected. What I didn’t expect, was what would happen next.


I didn’t know this, but apparently it’s common practice for home cooks in Japan to knead balls of dough with their feet!
We stuffed the dough into resealable plastic bags then proceeded to use them as a dance floor. Kneading dough can tire out your arms so this method makes sense. Just don’t forget to use plastic.
Kneading the dough activates gluten in the flour and gives the noodles their bouncy texture.


After doing the Irish jig on our balls of dough, we would knead them some more with our hands before dusting them with flour and flattening them out with rolling pins.
While rolling over the dough, Masako advised us to push down on the dough then slide out our hands to the edges of the rolling pin. Doing so helps flatten the dough evenly. The goal is to get it to about 3mm in thickness.


Once the dough is flat enough, you fold it twice like a letter to get it ready for cutting. This next step was fun.


Masako advised us to cut the flattened dough into thin strips to make Tokyo-style udon. Cutting them too wide is the Nagoya style of preparing udon, which is called kishimen.
Masako provided us with these wooden guides to make perfectly even cuts every time. “Push, don’t slice” was the proper technique here.


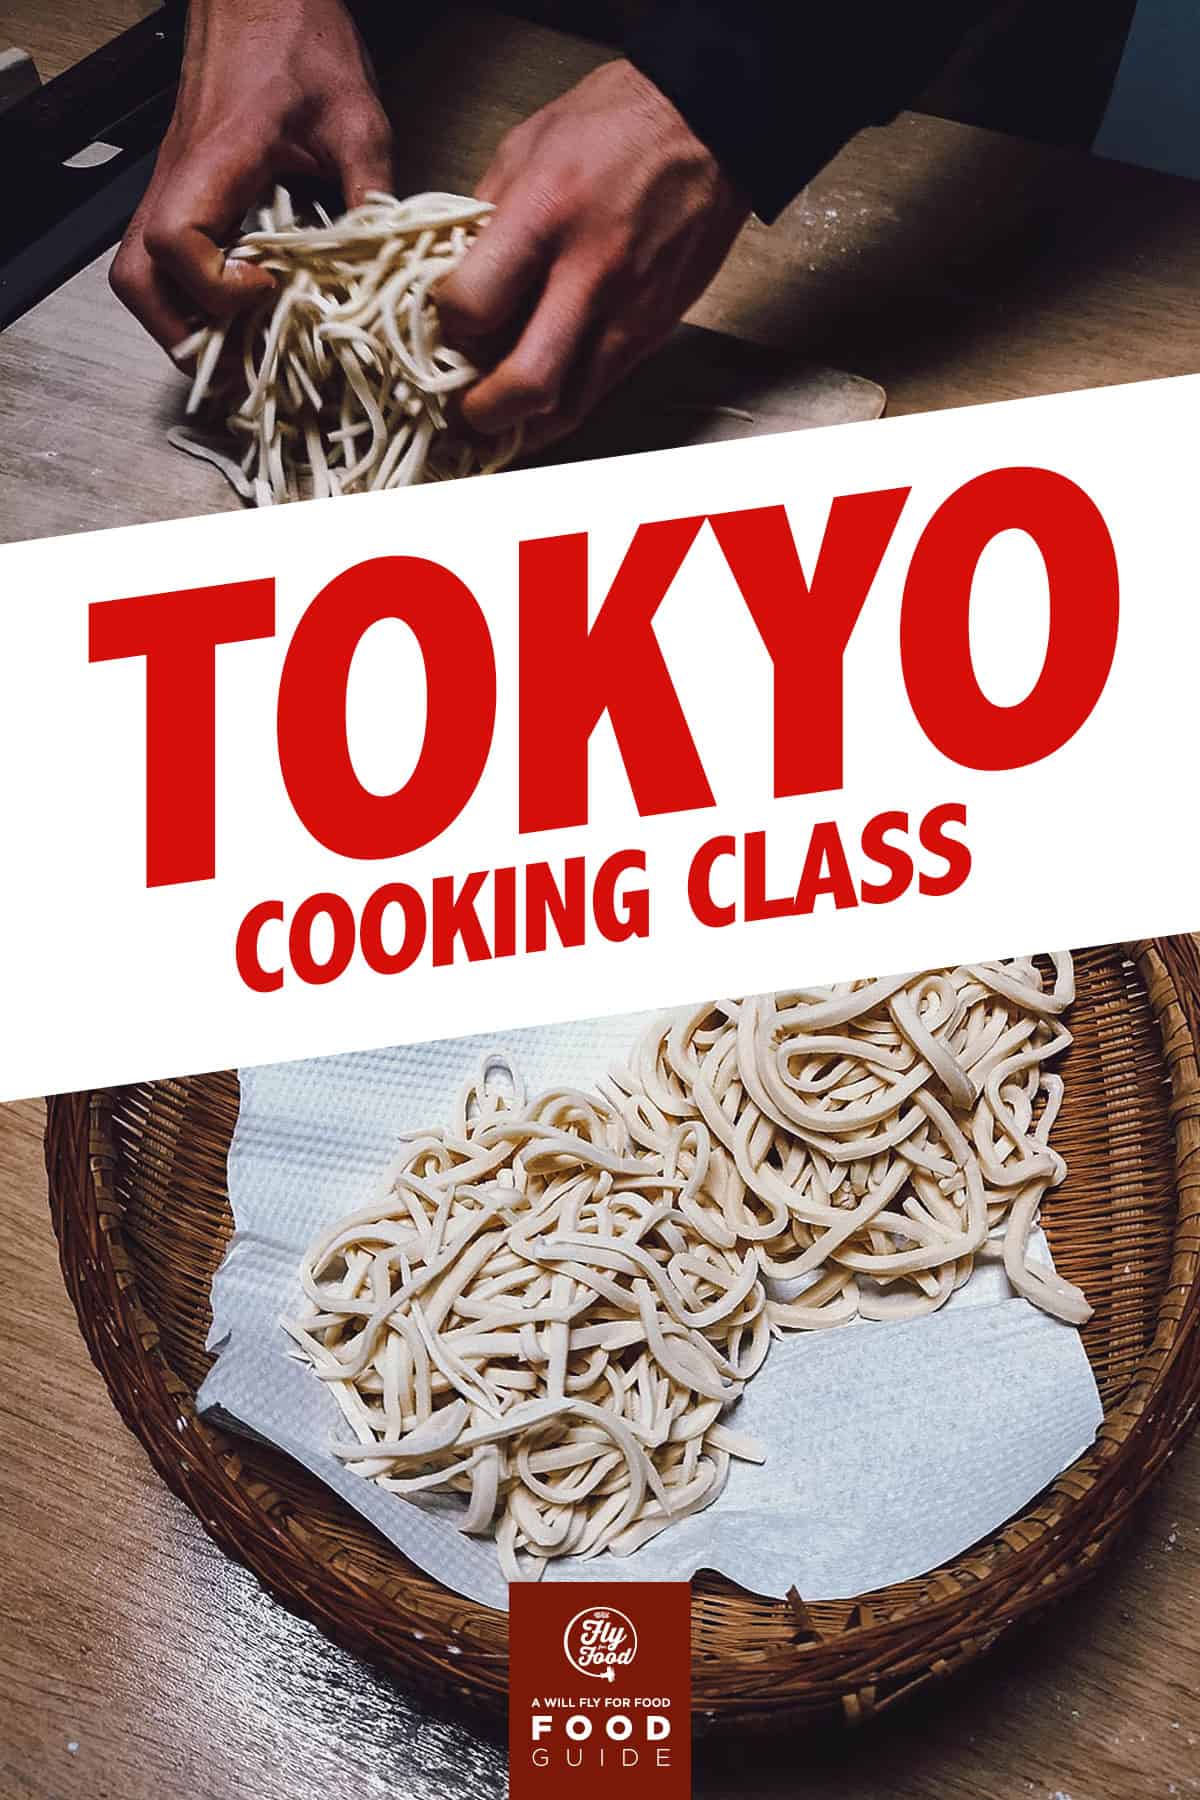
Don’t the udon noodles look pretty in this brown basket? They were now ready for boiling.


After a few minutes, our steaming bowls of udon were ready. It looks delicious as is but it isn’t done yet. It’s still missing its star ingredient.
Udon broths vary from region to region but this version was made with katsuobushi (dried, fermented, and smoked skipjack tuna), mirin (rice wine), and salt. If you’d like to try making this at home, then you can jump to Masako’s udon recipe at the bottom of this post.


Tempura
The last thing I learned to make today was tempura, one of my all-time favorite Japanese foods. It’s a popular dish of battered and deep-fried seafood and vegetables.
The secret to great tempura is in the batter. To make it, soft wheat flour is mixed with iced water to keep the batter cold. This is key, because keeping the batter cold slows down the development of gluten.
It’s for this same reason why Masako advised me not to overmix the batter, because doing so activates gluten which causes the flour mixture to become soft and doughy when fried.
Tempura batter should be kept cold and lumpy to create fluffy but crisp tempura when cooked.


When I was dropping the battered pieces of seafood and vegetables into the pot of oil, I made the mistake of dropping it in too quickly. Masako’s assistant politely corrected me and told me to drop it in as slowly as possible. She didn’t explain why, but perhaps to lessen the amount of batter coming off the tempura?
Those bits of excess batter are scooped out between batches so they don’t burn and leave a bad taste in the oil. Called tenkasu, they’re saved and used to make other Japanese dishes like okonomiyaki.
Vegetable or canola oil are most often used to make tempura, though the best results are said to come from sesame oil and tea seed oil. They produce the lightest and crispiest tempura.


Even the plating requires finesse. I followed Masako’s lead and piled the different pieces of tempura onto my plate. I don’t remember the word she used but the goal is to make the pile resemble a mountain.
They said I made my mountain too high but I wasn’t complaining.


Any type of tempura is delicious, but ebi or shrimp tempura is always the star.


This was the secret ingredient I was referring to earlier. Now my bowl of udon is complete. Oishi!


FINAL THOUGHTS ON THIS TOKYO COOKING CLASS
At the end of the class, Masako gave me the most amazing souvenir. Using the Japanese brush technique called sumi-e, she wrote our names in kanji on hand fans.


If I understood correctly, my name – John – sounded like the Japanese word for “help”, while Renée translated to something like “so beautiful sound”.
I loved these. Arigato gozaimasu Masako!


Here’s a parting shot of Masako and her team along with Shoma of airKitchen. According to Shoma, Masako is somewhat of a local celebrity who’s appeared on cooking shows in Tokyo. It was honor taking her class.


Taking cooking classes is something we enjoy doing on trips, because like I said, there’s no better way to learn about a foreign cuisine than by taking a cooking class.
I’ve been eating tempura and udon almost all my life but I learned things today that I never knew. Eating a dish is one thing, but learning how to make it is another. It gives you a level of understanding that you otherwise wouldn’t get from just eating it, no matter how familiar you are with the dish.
Even though I have virtually no experience in the kitchen, I enjoyed this class tremendously. They guide you through each step so it’s impossible to mess up. It’s like Japanese cooking for dummies.
If you’re visiting Tokyo and want to get a better understanding of Japanese food, then I suggest taking a cooking class. I’m happy to recommend Masako’s class if you want to make udon, tempura, and tamagoyaki. But if you’d like to make other dishes, then you can search through airKitchen’s extensive list of cooking classes in Tokyo.
MASAKO’S UDON RECIPE
INGREDIENTS
For Udon Noodles
- 8g salt
- 115cc water
- 250g udon flour
For Broth
- 350cc water
- Katsuobushi (to taste)
- 4 Tbsps salt
- 2 Tbsps mirin
DIRECTIONS
For Udon Noodles
- Dissolve salt in water.
- Add salt water to flour little by little. Mix with both hands until the mixture becomes like rough powder. Place into a plastic bag and leave for 10-20 minutes.
- Remove the dough from the bag and knead it into a ball. Put it back in the plastic bag.
- Step on the plastic bag with the dough inside for about 3 minutes. Remove the dough from the bag and knead into a ball. Put it back in the plastic bag and leave for 20 minutes.
- Sprinkle flour on your workstation. Using a rolling pin, flatten the dough evenly until it’s about 3mm thick.
- Sprinkle more flour on the flattened dough and cut into 3mm wide strips.
- Bring water to boil in a large pot, about 3-4L of water per 250g of udon noodles. Cook noodles for about 7-12 minutes. Noodles should be cooked al dente – soft but not mushy. Pat dry.
For Broth
- In saucepan, combine ingredients and bring to simmer.
- Serve with udon noodles and garnish with chopped green onion.
Disclosure
We’re airKitchen affiliates and were given a free cooking class in Tokyo in exchange for an honest account of the experience. As always, all thoughts, words, and opinions expressed in this post are mine and mine alone.
Some of the links in this guide are affiliate links, meaning we’ll earn a small commission if you make a purchase at no added cost to you. We only recommend products and services that we use ourselves and firmly believe in. We really appreciate your support as this helps us make more of these free travel guides. Thank you!